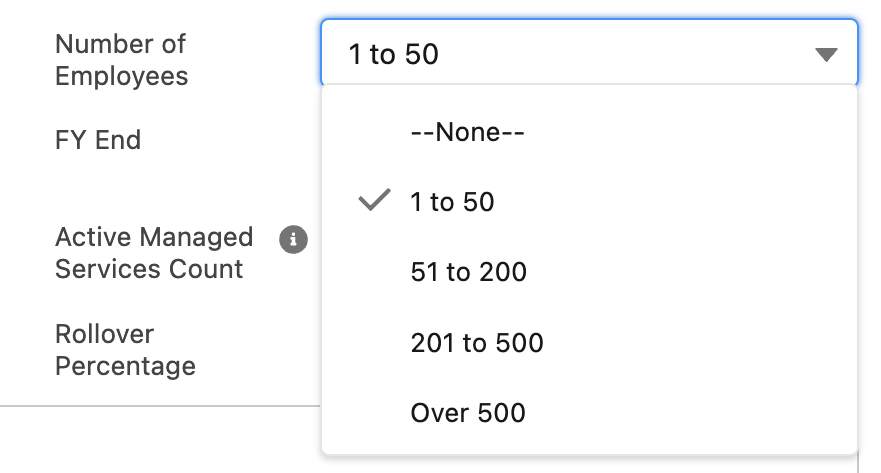
The beauty of Salesforce is the ability to customize the platform to fit your needs and specifically represent your use cases. The objects and fields along with associated automation allow for a unique workflow to be created. Learning to master Salesforce picklists– one of the most dynamic field types in Salesforce– helps unlock the platform’s full potential. With fully customizable values that can be saved for use throughout the org and the ability to create dependencies on records to eliminate values for easier and cleaner record keeping, picklists are effective at helping gather the information sought on records.
To quickly master Salesforce picklists you must understand how to create a picklist, understand global value sets, and learn to set up field dependency. These three elements should allow you to master Salesforce picklists– but if not, don’t worry. You can always contact our experts at StarrData for help.
Learn to Master Salesforce Picklists
Creating a Picklist
Picklists are created as any other field in Salesforce. In Setup, go to Object Manager and select the object you wish to add a picklist to. From the Fields and Relationships page, select the ‘New’ button in the top right. From the field type selection page, scroll down to Picklist and select the button to the left. Multi-select picklists are also an option, allowing for more than one value to be selected in the picklist. It is important to keep in mind, though, that multi-select picklists cannot be dependent picklists when field dependency is used.
After selecting a field type and clicking ‘Next’ at the top or bottom of the page, the page to enter the field details loads. After giving the field a name, choosing where the values in the picklist will come from is next. You can choose to use a Global Value Set, which will be explained in the next section, or to enter the values yourself. After the values are done, select whether the picklist will be restricted or not with the checkbox below the value entry window. A restricted picklist will only allow the values in the value set to be selected. Once done, click ‘Next’ and continue field creation like any other field.
While many picklists won’t reach the value limits set by Salesforce, it is still important to know what those limits are. Custom single-select picklists can have 1,000 values that are 255 characters long. Unrestricted picklists can have 1,000 active values while restricted picklists are limited to 1,000 total values. Unrestricted picklists can have up to 4,000 inactive values.
To turn an unrestricted picklist into a restricted picklist, the limits set for restricted picklists must be met. For multi-select picklists, 500 values is the limit, also at 255 characters per value, and up to 100 values can be selected on a record. Standard picklist fields have much smaller limits in place for their values. Lead, Task, and Case Status fields are all capped at 100 values, as is the Opportunity Stage field. Case and Task Priority are capped at 50 values.

Global Value Sets
To help with picklists that may be found in multiple places in your Salesforce org, the option to create a Global Value Set will speed up the process of field creation while also ensuring data quality across the organization by ensuring the same values are used everywhere. All custom picklists are able to use a global value set or have their values become a global value set. Each Salesforce org is allowed up to 500 global value sets, and each global value set is capped at 1,000 total values. The values are capped at 1,000 total because each global value set is a restricted picklist.
Global Value Sets can be created in two ways. The first is to use the ‘Promote to Global Value Set’ button on an already existing picklist field. From the Fields and Relationships page of an object, select the picklist field you want to promote the values of. Once on the field details page, click the ‘Edit’ button at the top of the page. Once on the edit page, the ‘Promote to Global Value Set’ button will appear at the top of the page. After clicking the button, you will be taken to a page to name the set of values and optionally add a description before saving it.
The second option is to go straight to the value sets page in Setup. In the Quick Find box, enter ‘Picklist Value Sets’ and select Picklist Value Sets from the left side menu. This will take you to the list view page of all current global value sets. At the top of the list is a ‘New’ button. After clicking the button, a page to create a new picklist value set will appear, asking for a field label and all the values you would like to add to the picklist. Once completed, click the ‘Save’ button at the top or bottom of the page.
Field Dependency
Field dependency can be set up to connect picklists and help eliminate values in the dependent picklists to reduce time spent scrolling through values when inputting data. The controlling field is normally a picklist, but can also be a checkbox found on the same record, and must have between one and three hundred values for selection.
To set up a field dependency, ensure all fields are created before making the connections. From the Fields and Relationships list view, click ‘Field Dependencies’ in the top right corner. This will load a page with a list view of all current field dependencies set up for that particular object. Click the ‘New’ button at the top of the list to create a new dependency.
First, the controlling field and dependent field need to be selected from separate picklists. After those selections are made, click the ‘Continue’ button. This will create the field dependency matrix based on the two selected fields. The top row is the values from the controlling field. The columns contain all values from the dependent field. Going column by column, select the values of the dependent field that should be available for selection if the value at the top of the column is the selected value in the controlling field.
When a cell is selected, it will turn purple until one of the two buttons at the top is selected: ‘Include Values’ or ‘Exclude Values’. Included values are highlighted in yellow once they are saved. To select more than one value at a time, use CTRL+click until all values are selected, then click a button at the top or bottom of the matrix. Once everything is set as desired, click ‘Save’ at the bottom.
The use of picklists is a very valuable way to ensure data quality across a Salesforce instance. Learning to master Salesforce picklists, and knowing how to create and communicate them on records and across objects is a useful way to capture accurate information to set up your company for success.
If you need more advice to master Salesforce picklists or need help optimizing Salesforce at your company, please contact us.


