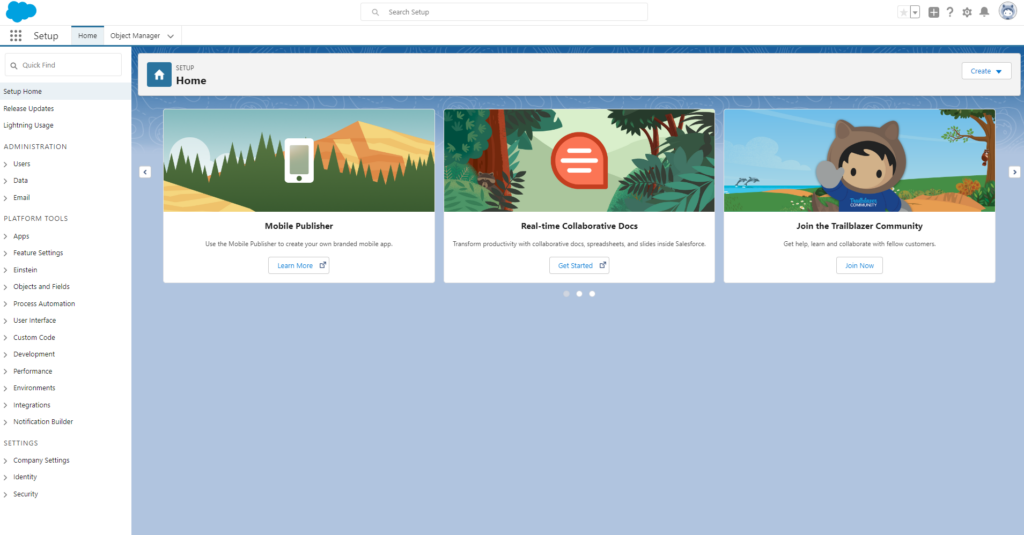
There are many rules that Salesforce has in place out of the box to help with data capture and the platform function at a baseline. Certain required fields and object relationships are standard and can’t be undone, but there are many other rules that can be created and specifically catered to each individual Salesforce instance. Over these two posts, we will look at the “Rules of Salesforce” that can all be found in Setup and customized to fit your business function.

Case and Lead Assignment Rules
Case and Lead Assignment Rules are obviously for different objects, but they operate in the same way. Both can be found by searching for them using the Quick Find box in Setup or by looking under the “Marketing” (Leads) or “Service” (Cases) headers under Feature Settings.
To create a new rule, click the “New” button at the top of the list view once you have landed on the Case or Lead Assignment Rules detail page. You will first enter a name for the rule and click “Save”, taking you to the detail page of the specific rule. From there, you will enter in as many entries on the rule as you would like. Start by clicking “New” on the top bar of the rule entries list view. On the rule entry edit page, select where in the sort order the new rule will be, then move on to provide the criteria or build the formula to filter records with. Once the formula or criteria is set, it is time to select who will be assigned the case or lead based on this filtering. Users or a queue can be chosen for where the record will be assigned. There is also an option for an email alert to go out when a new record is assigned, and that can be enabled by selecting an email template to be used. Once done, click “Save” and repeat the process until all desired criteria is in place.
Only one rule can be active at a time for both Cases and Leads. Each rule can have up to 300 rule entries to dictate the filtering of record ownership.
Escalation Rules
To help stay on top of incoming issues, Escalation Rules can be put in place to ensure help is being provided in a timely manner and that certain Cases are getting into the hands of the right people for the job. Escalation Rules can also be found with Case Assignment Rules in the “Service” subsection under “Feature Settings”.
Creating an Escalation Rule is similar to creating Assignment Rules, first by naming the rule and then adding Rule Entries. Once on Rule Entries and the criteria are set, each rule entry will need to have parameters set related to what hours to recognize and when the escalation time is set. Choices for business hour criteria include ignoring business hours, using business hours specified on the case, or selecting business hours to recognize from the Business Hours under Company Settings. The options for how escalation time is set are when the case is created but disable the escalation once the case is modified, or base it off of the most recent modification time. Once selections are made for these options, the rule entry can be saved.
Once the Rule Entry is saved, it needs an associated Escalation Action. Each Escalation Action is identified by the time set for when the action should take place, with options available every 30 minutes. Once the time is set, choose the action to take place. Options are to reassign the case to a user or queue or to notify a user, the case owner, or up to 5 entered email addresses. Once the action has been selected, it can be saved.
Sharing Rules
Sharing Rules are meant to open up visibility in a more lateral fashion, giving access to those users who are found in the same or similar location of the role hierarchy. Sharing Rules are found on the Sharing Settings page below the Organization-Wide Default settings. Sharing Rules can be based on ownership of a record or criteria of a record, such as the value of one or more fields found on the record page.
Once the type of rule and specific criteria have been selected, the rule is then assigned to who it is meant to open access. Other roles, public groups, or created queues are all options for who can receive the expanded access thanks to a Sharing Rule. The access can even extend to a role and all their subordinates in the role hierarchy, allowing for further expanded access to more users across the organization.
To create a new rule, scroll below all of the OWD settings and you will get to the Sharing Rules, separated by the object. Find the object you wish to add a rule to and click the “New” button in the top bar. This will take you to the creation page for a new sharing rule.
First, enter the “Label”, or name for the sharing rule. Next, set the rule type based on the record owner, record type, or field values. If based on criteria, five rows of field picklists will appear with available operators and a “Value” field to either enter or search for the appropriate value to be placed in the field Set the criteria and who will be receiving the expanded access. Finally, select the level of access being extended by the sharing rule: Read Only, Read/Write, or in some cases, Full Access. The Account object will allow you to set access for associated Contacts, Opportunities, and Cases, and Private is an option for those records.
Assignment Rules, Escalation Rules, and Sharing Rules are all great tools that automate business processes that would normally require reminders and manual work. Using what is available will help the flow of your sales process and give more time back to employees to focus on bigger and more important tasks. There are plenty more rules in Salesforce Setup that will aid in the use of the platform, and we will dive into those in part two of this subject.
If you need support with your Salesforce instance contact us today! Otherwise, stay tuned for our Rules of Salesforce: Part 2 post in two weeks!


